
Removing an object from a photo was never as easy as it is now, before now we knew that you couldn’t just edit a picture or photo easily to remove an object or something without having to know much about Photoshop software and know much about how to use brushes.
AI photo editing tools are now available for us to do a lot of photo editing with, your imagination is your limitation and sometimes you will have to use the paid plans on the AI platform to be able to access some good and advanced features.
Well, in this How to Easily Remove Objects from Photos Using AI, we are going to make use of a free tool to do all the work and it will be perfectly done. Follow me from the beginning to the end to show you how to delete or remove objects, people, blemishes or text from your images in seconds from an image.
Step 1 (one)
The first step you are to follow is to visit the platform here: PHOTOEDITIOR
The platform is called Photoeditor

Once you are on this page, you are already halfway to finishing the work. Why did I say halfway? Because It is not hard and AI will do all the work for you.
All you need to do is to go to step 2
Also Read: How to Use AI for Exceptional Gift Recommendations
Step 2 (two)
Scroll down to where you will see, Click Here, or Drag & Drop an Image
If you are already there, just click on that space that shows the action required.
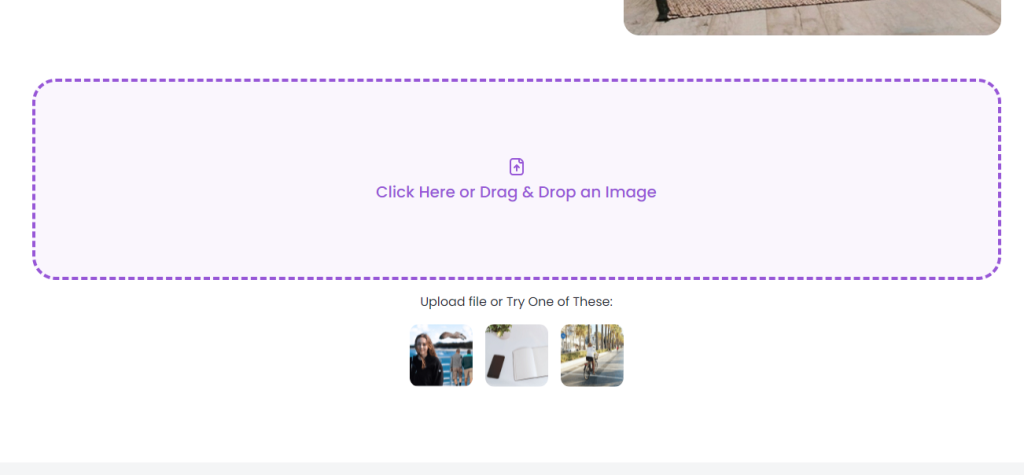
Once you click on the Click Here, or Drag & Drop an Image, you will now be directed to where you will select the photo you want to delete the object from, which will be from your computer or the device you are using to access the platform.
Step 3 (three)
After clicking on the Click Here, or Drag & Drop an Image here is what you will see:
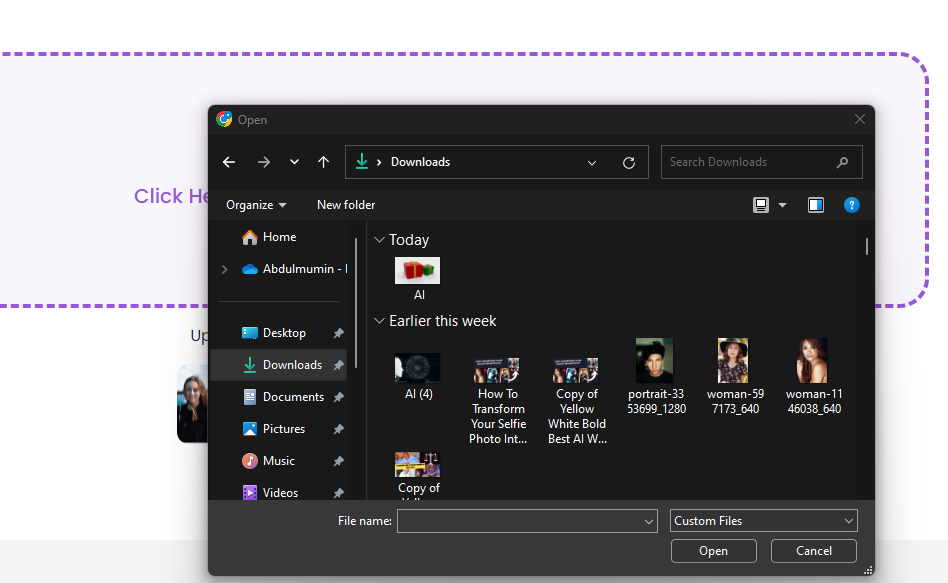
For me, I will select the Image I named AI, which is a picture of 2 gift boxes. Select the picture you want to work on and click on the Open button.
After clicking on the open button, the picture will be selected and opened in the editing environment.
Step 4 (four)
After your image has been displayed in the editing environment, it means it’s ready to be edited. You will have the option to reside the brush you will use in shading or highlighting the object you want to remove from the photo/image.
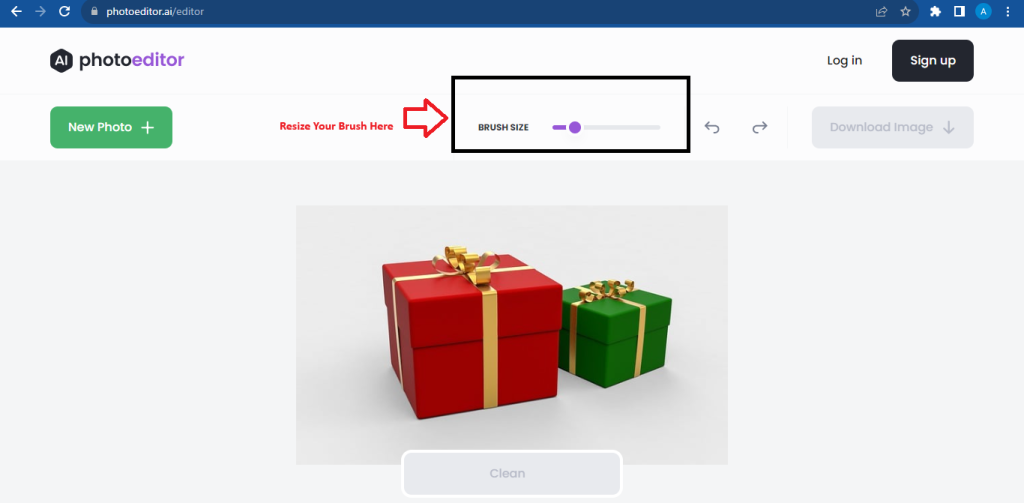
Resize the brush to the best size so you can easily trace the object without touching the other. make sure you have traced and highlighted the object completely or where you want to remove it.
Also Read: How To Get Free AI Prompts For Copywriting 2023-2024
Step 5 (five)
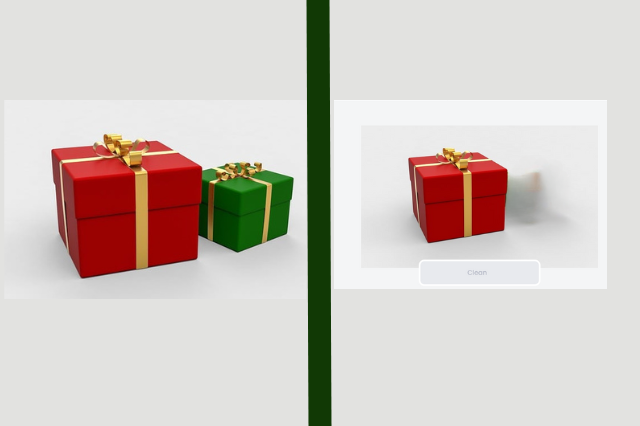
After highlighting the object or the area, this is how it will look in the image below:
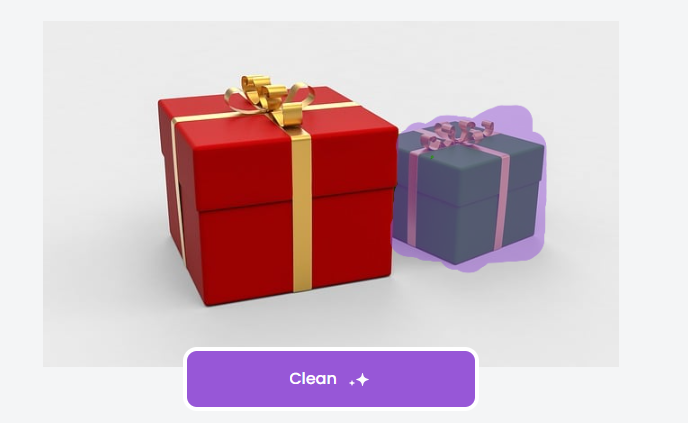
You can see that I have highlighted the unwanted gift box, now the next thing is to Click on the Clean button.
Wait for the AI to finish cleaning the object, which will take just a few seconds. Once it’s done its cleaning, the result will be displayed and you will have the option to download the image with the final result.

Looking at the image above you will see that we have successfully removed the green box from the original make with just a brush and a click of a clean button.
Visit Photoeditor AI
Conclusion
in conclusion, we have successfully used a free tool to remove the second box from the image, after which we are only left with the red big box. It’s an easy-to-follow guide for anyone to follow and achieve the same result or better results.
See you in our next post.