
Fotor AI is an AI designed to support or assist you in your artwork creation process, or career. With this Fotor AI tool, you can effortlessly do some amazing artwork that can make you and others say wow.
This tool is just straight forward and simple-to-use tool for anyone who is interested in trying the good features in it.
In this tutorial, we will be following the step-by-step how to generate or transform a photo into an artwork using this AI called Fotor. This tool has free and paid plans, but we will be using the free trial mode to transform a photo into a beautiful artwork.
Let’s get started!
Step one (1)
Open a new tap on your browser
Go to the AI tool platform (link at the end of the tutorial)
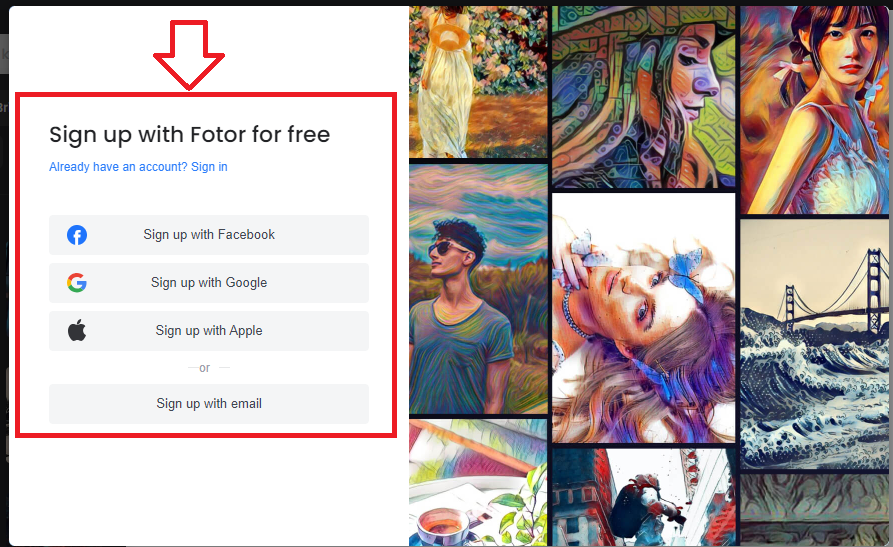
Create/Sign Up with Fotor for free
You can sign up using your Facebook, Google or Apple account
After creating an account with Fotor, you will be able to access the features to start your work immediately.
Proceed To Step 2
Step two (2)
Once you have successfully created your account, you will have access to the work environment where you will be asked to Drag or upload your image here.
Click on the Open Image Button
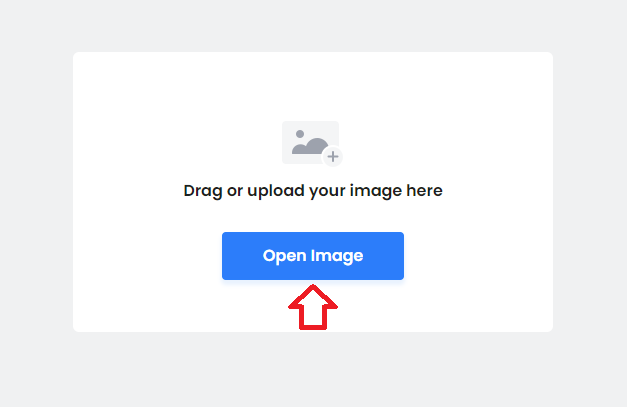
After clicking on the Open Image button, a new pop-up will show up
Proceed to Step 3
Step three (3)
A new window will pop up giving you the ability to choose an image from your computer or device, all you need to do here is to browse through your files and select the picture/image you would like to touch or work on.
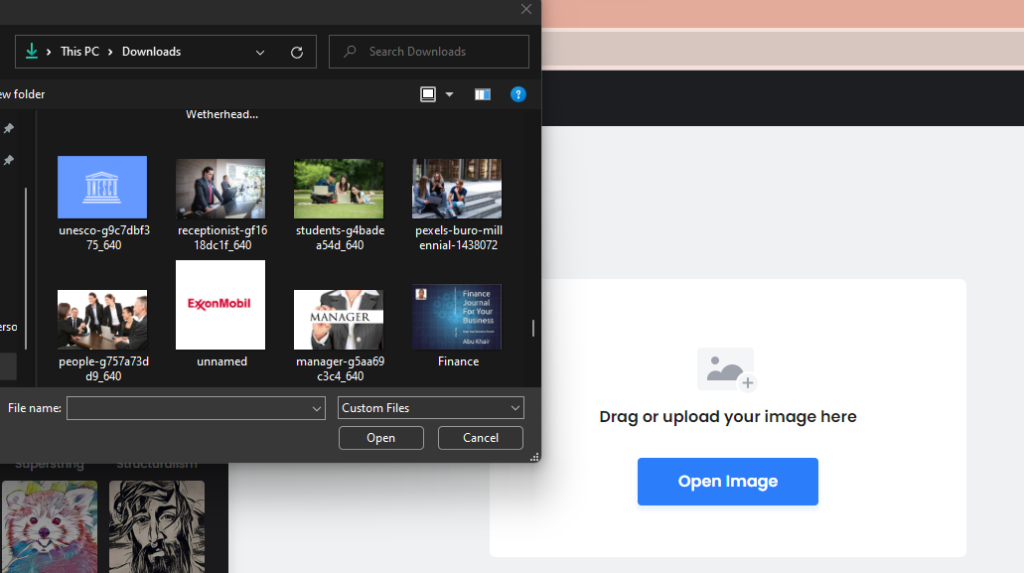
Select the image from your files and click the Open button
Proceed to step 4
Related Post: How To Transform Your Photo Into Cartoon Using AI
Step four (4)
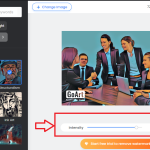
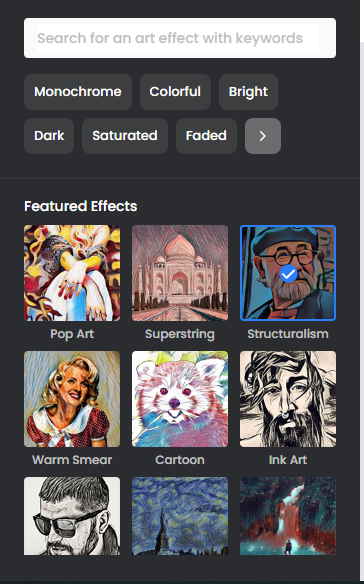
After selecting the image you want to redesign, you will now choose the effect you want to apply on the image. For me, I selected an image of a group of people having a group meeting.

And I selected a featured effect of Structuralism
Wait for the AI to finish generating your image for you from the given image…….
Proceed to step 5
Step five (5)
After waiting for a minute, the AI will finish generating the image and display the result for you, under the generated art image, you will see a slider for adjusting the intensity of the generated art.

You can slide the Intensity to get the best look of the image and to your own test. After getting the intensity you want, then
Proceed to step 6
Step six (6)
After everything, now you can download the image to your device or PC, by clicking on the Download button at the top right-hand corner of the image environment.
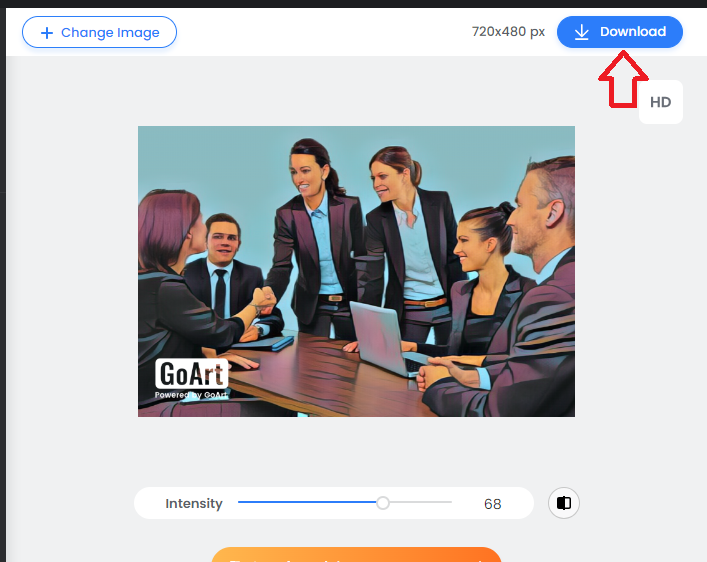
You will notice a watermark on the left-down corner of the image, you can remove that by starting the free trial.
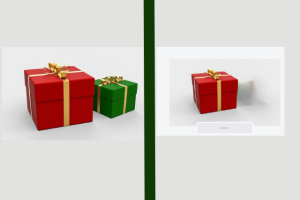
Now let’s have a look at the before and after images generated using this FOTOR AI.

We have successfully transformed our image into an artwork effortlessly and with just a few clicks and steps.
Visit FOTOR AI
In Conclusion, by following the procedures and steps in this tutorial, I’m sure you will be able to achieve a better result the one that will be better than this. Just try and use the best of your ability and imagination.
See you on the next page.